


A letter plate is an essential feature of a front door, providing both practicality and security.
Whether you're replacing an old one or fitting a new one for the first time, you want to install your letter plate correctly for a professional finish. Watch the video below to fit a letter plate in your front door with ease (or read on for steps, with photos).
What you’ll need
- Letter plate and fixing kit
- Tape measure
- Pencil
- Drill
- Jigsaw (or chisel and hammer)
- Screwdriver
- Paint or varnish (optional)

What’s included with your LP400 Letter Plate from Coastal
- Internal letter plate
- External letter plate
- Two brackets (optional to prevent bowing)
- 4 x 60mm and 4 x 50mm screws
- Printed fitting guide
- Allen key
Step-by-Step Guide to fitting a letter plate

1. Measure and Mark the Position
Decide where the letter plate will be positioned in your door.
Typically, it should be placed centrally on the door at a comfortable height (around 700-1000mm from the ground).
Use a tape measure and a pencil to mark out the exact location and a rectangle measuring 315mm x 95mm. Ensure the hole is level by using a spirit level.
2. Drill Pilot Holes
Drill a hole at each corner of your marked area. This will make it easier to cut out the opening with a jigsaw.
3. Cut the Letter Plate Opening
Using a jigsaw, carefully cut along the marked lines to create the opening. If you’re working with a solid timber door and don’t have a jigsaw, use a chisel and hammer to remove the wood in sections.
Once the opening is cut, sand down any rough edges for a smooth finish.

From concealed hinges to heavy-duty butt hinges, we’ve got you covered.
4. Fit the Letter Plate
Pull apart the internal and external plate and take out the bag of fixings. This includes optional brackets which can reduce the risk of bowing.
If not using brackets, simply insert the letter plate into the opening and ensure it fits snugly. If necessary, make slight adjustments by sanding the edges and using packers to bring the external letter plate in line with the internal letter plate. Move on to step 5.
4b. Fit the central brackets (if using)
If using brackets, remove the two central grub screws.

Place the oval hole of the bracket against the top of the letter plate and loosely attach with the screw.

Repeat with the other bracket at the bottom of the letter plate.
 Slide the external letter plate into the pre-cut hole in your door.
Use packers as required

Drill a shallow pilot hole into the door through the round bracket hole before screwing in the grub screw at the top.

Repeat with the bottom bracket.

Don’t overtighten the brackets with the two grub screws.

Now to fit the inside of the letter plate.
5. Secure the Letter Plate
Align the internal plate correctly in the hole so the screw holes line up with the external plate.

Mark the screw holes with a pencil on the surface of the door. Drill small pilot holes where you've marked the screw positions to prevent the wood from splitting and insert the screws.

Attach the letter plate using the screws provided (50mm or 60mm). Use the door thickness guide to calculate the length of screws required for your letter plate.

Finger tighten the screws using the Allen key provided with your letter plate.

6. Finishing Touches
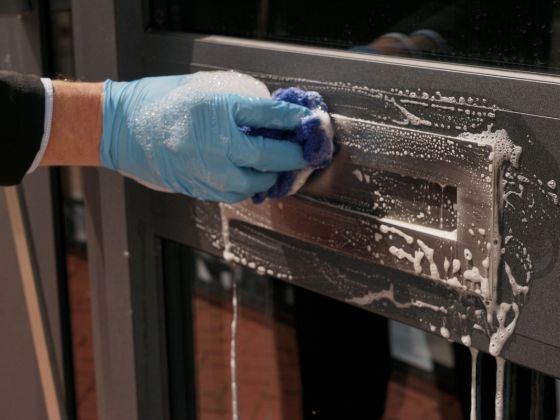
Clean the letter plate on the inside and outside of the door using a suitable cleaner.
If you’ve made any gaps or rough cuts, fill them with wood filler and sand them smooth once dry.
If your door is painted, you may want to touch up the edges to maintain a neat finish.
Test the letter plate to ensure it functions correctly.
You're done! Great job.
Additional Tips
If you're fitting a letter plate on a uPVC or composite door, ensure you use a fine-toothed jigsaw blade to prevent damage.
If your door is particularly thick, check that the screws provided are long enough or purchase suitable replacements* and purchase a sleeve extender as required.
By following these steps, you can install a letter plate that looks professional and functions smoothly. Whether it's for a new door or an upgrade, a well-fitted letter plate is a small but essential detail that enhances the practicality and looks of your home.

Looking for the very best letter plate?
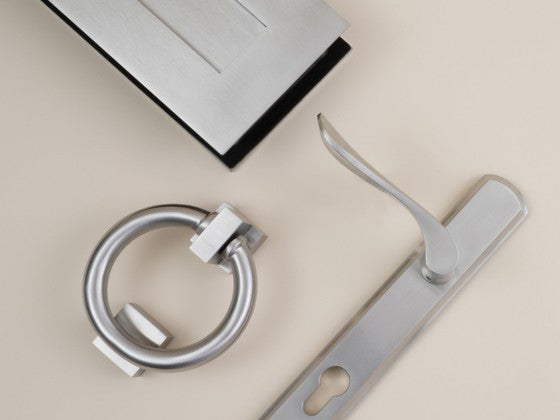
Coastal Group's LP400 letter plate is one of the best for quality and good looks.
- Made from 316 marine grade stainless steel for durability.
- Weather tested against air, wind and water.
- Built-in security features.
- Comes with a lifetime guarantee for peace of mind.
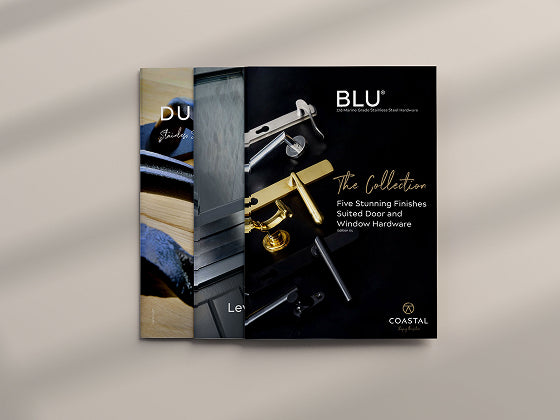
DOWNLOAD the guide below to see the letter plate in multiple homes, from traditional to contemporary