



Want to show off your latest door and window installations? How do you take decent photos of projects after completion?
We’ve all seen bad photos. Bad lighting, blur and poor framing can all make a difference to how good your work looks.

… while good photography can help attract new customers, increase visibility online and build credibility.

Key take aways
• Door and window manufacturers and installers can gain a lot of visibility online through good quality photography
• A strong portfolio of professional photos gives you an edge in a competitive market and increases chances of being featured in industry publications
• Shooting during the golden hour, avoiding harsh reflections, and experimenting with angles can significantly enhance image quality
• 90% of consumers said the quality of photos was extremely important to their purchasing decisions
• Simple additions like a doormat, plants, or a hand interacting with hardware make photos feel more natural and engaging
• Cleaning up the scene, adjusting brightness and contrast, and keeping colours true to life ensure a polished, professional result.
Ready to get it right first time? Looking to take your project photos to the next level? Let’s explore how to take good photos of external doors and windows.
Here’s why high-quality images matter:
1. Highlights Craftsmanship & Attention to Detail
A well-composed photo captures the precision, materials, and quality of a completed project. It showcases everything from the texture of the wood, composite or aluminium to the finish of the hardware, helping potential customers appreciate the fine details.
2. Creates a Strong First Impression
Most customers will judge a project based on visuals before reading any details.

High-quality images instantly convey professionalism, while poor photography can undermine even the best work.
3. Boosts Marketing & Social Media Impact
Great project photos make marketing materials, websites, and social media posts more engaging. They increase likes, shares, and enquiries, helping to attract new business.
4. Builds Credibility & Trust
Clear, professional images make a company look reliable and experienced. They demonstrate real-world applications of products and reassure customers of the quality they can expect.
5. Helps You Stand Out from Competitors
In a competitive market, strong visuals give you an edge.

Customers are more likely to choose a business that showcases its work well rather than one with poor or no project images.
6. Encourages Customer Engagement
People love seeing real-world examples of products in action. Well-shot project images help potential buyers visualise how doors, windows, and hardware will look in their own spaces.
7. Supports Press & Awards Submissions
Industry magazines, trade websites, and awards often require high-quality images. A great portfolio of project photography increases the chances of getting featured, potentially giving you free exposure.
8. Preserves a Portfolio of Work
Photography allows businesses to document and archive their best projects, creating a valuable reference for future marketing, client pitches, and case studies. In short, good photography ensures that all the effort put into a project is captured and presented in the best possible way, maximising its impact.
How to take good photos of your projects
Now we understand the value of decent photography, here’s how to make the very best of your latest projects with top tips on photographing your door and window projects.
 1. Choose the Right Lighting
• Shoot during the golden hour (early morning or late afternoon) for soft, natural light that reduces harsh shadows and glare.
• Avoid direct midday sunlight, which can create strong contrasts and overexposed highlights.
• If shooting on an overcast day, take advantage of the even, diffused lighting that helps bring out details.
2. Adjust Your Phone Settings
• Enable High Dynamic Range (HDR) mode. This helps balance bright and dark areas, ensuring details in both shadows and highlights are visible, especially for doors and windows with glass.
• Use the maximum resolution available on your phone to get sharp, detailed images that can be used for websites, social media, or print without losing quality.

• Adjust focus and exposure by touching the door or window on the phone screen to set focus and manually adjust exposure to prevent overexposed glass or underexposed shadows.
3. Find the best angle
• Take photos straight-on for a clean, symmetrical look.
• Capture from a slight angle to add depth and dimension, especially for doors with sidelights or large window installations.

• Try opening the door or window for added interest.
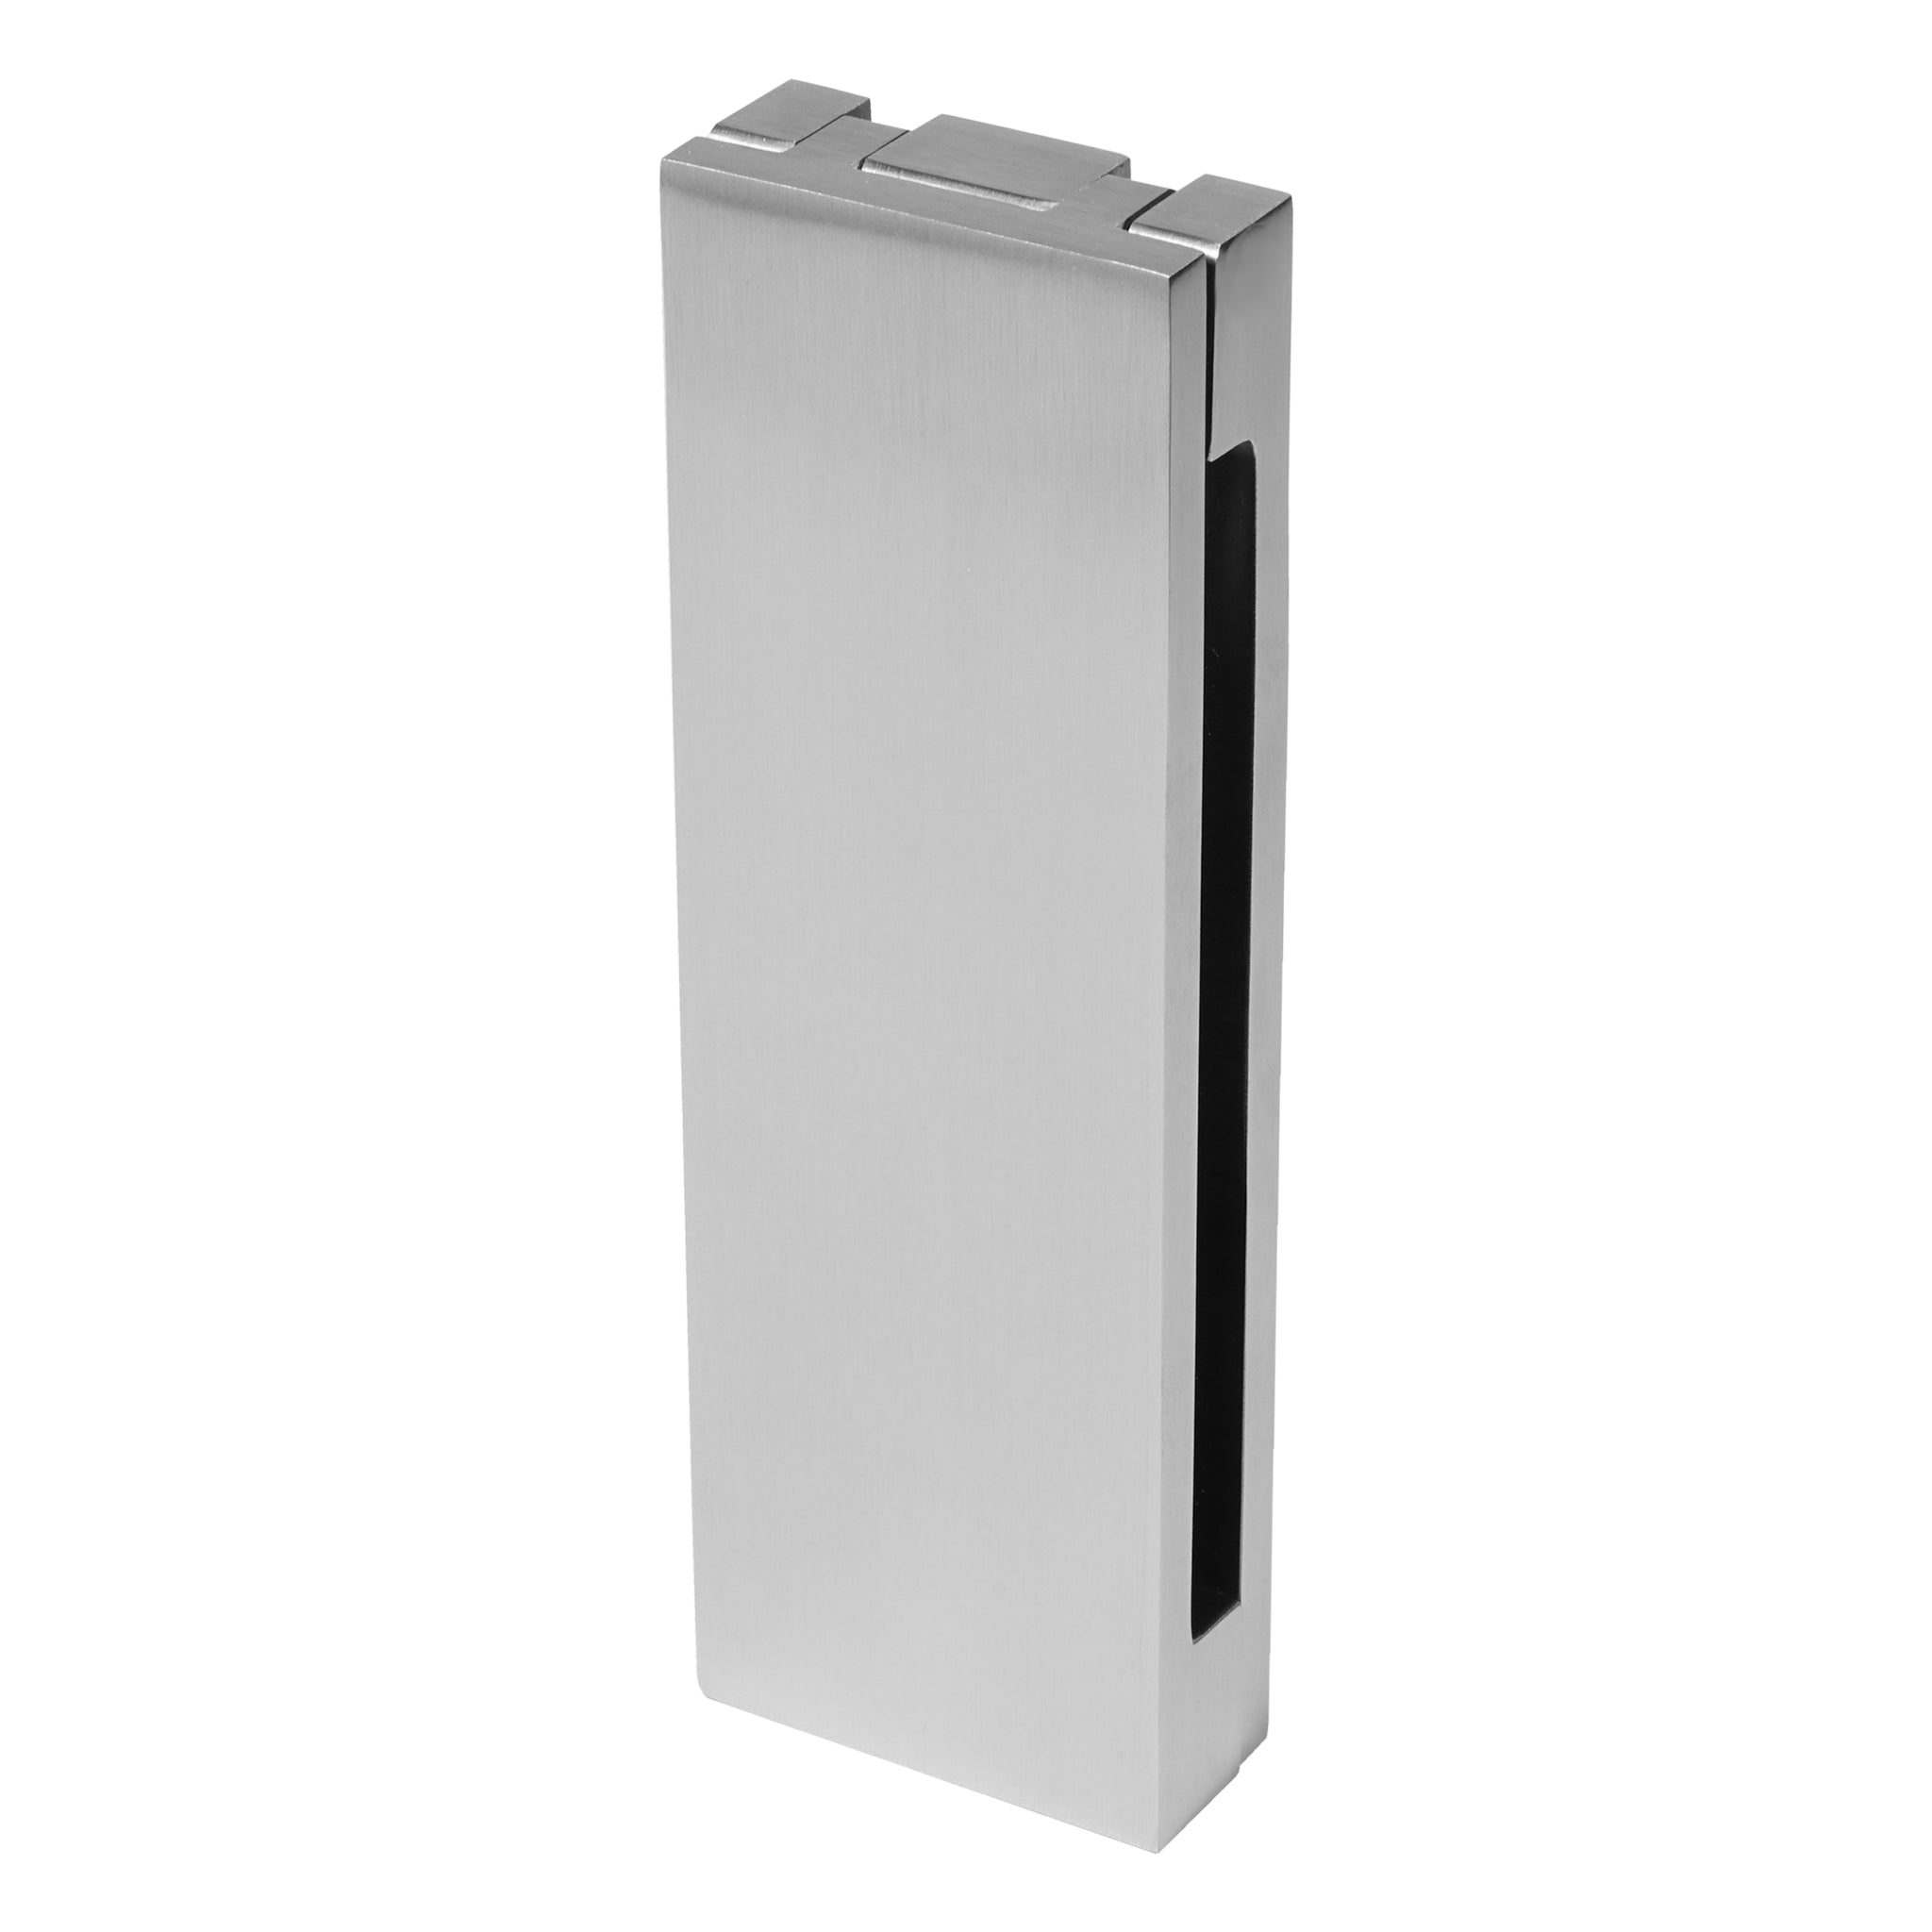
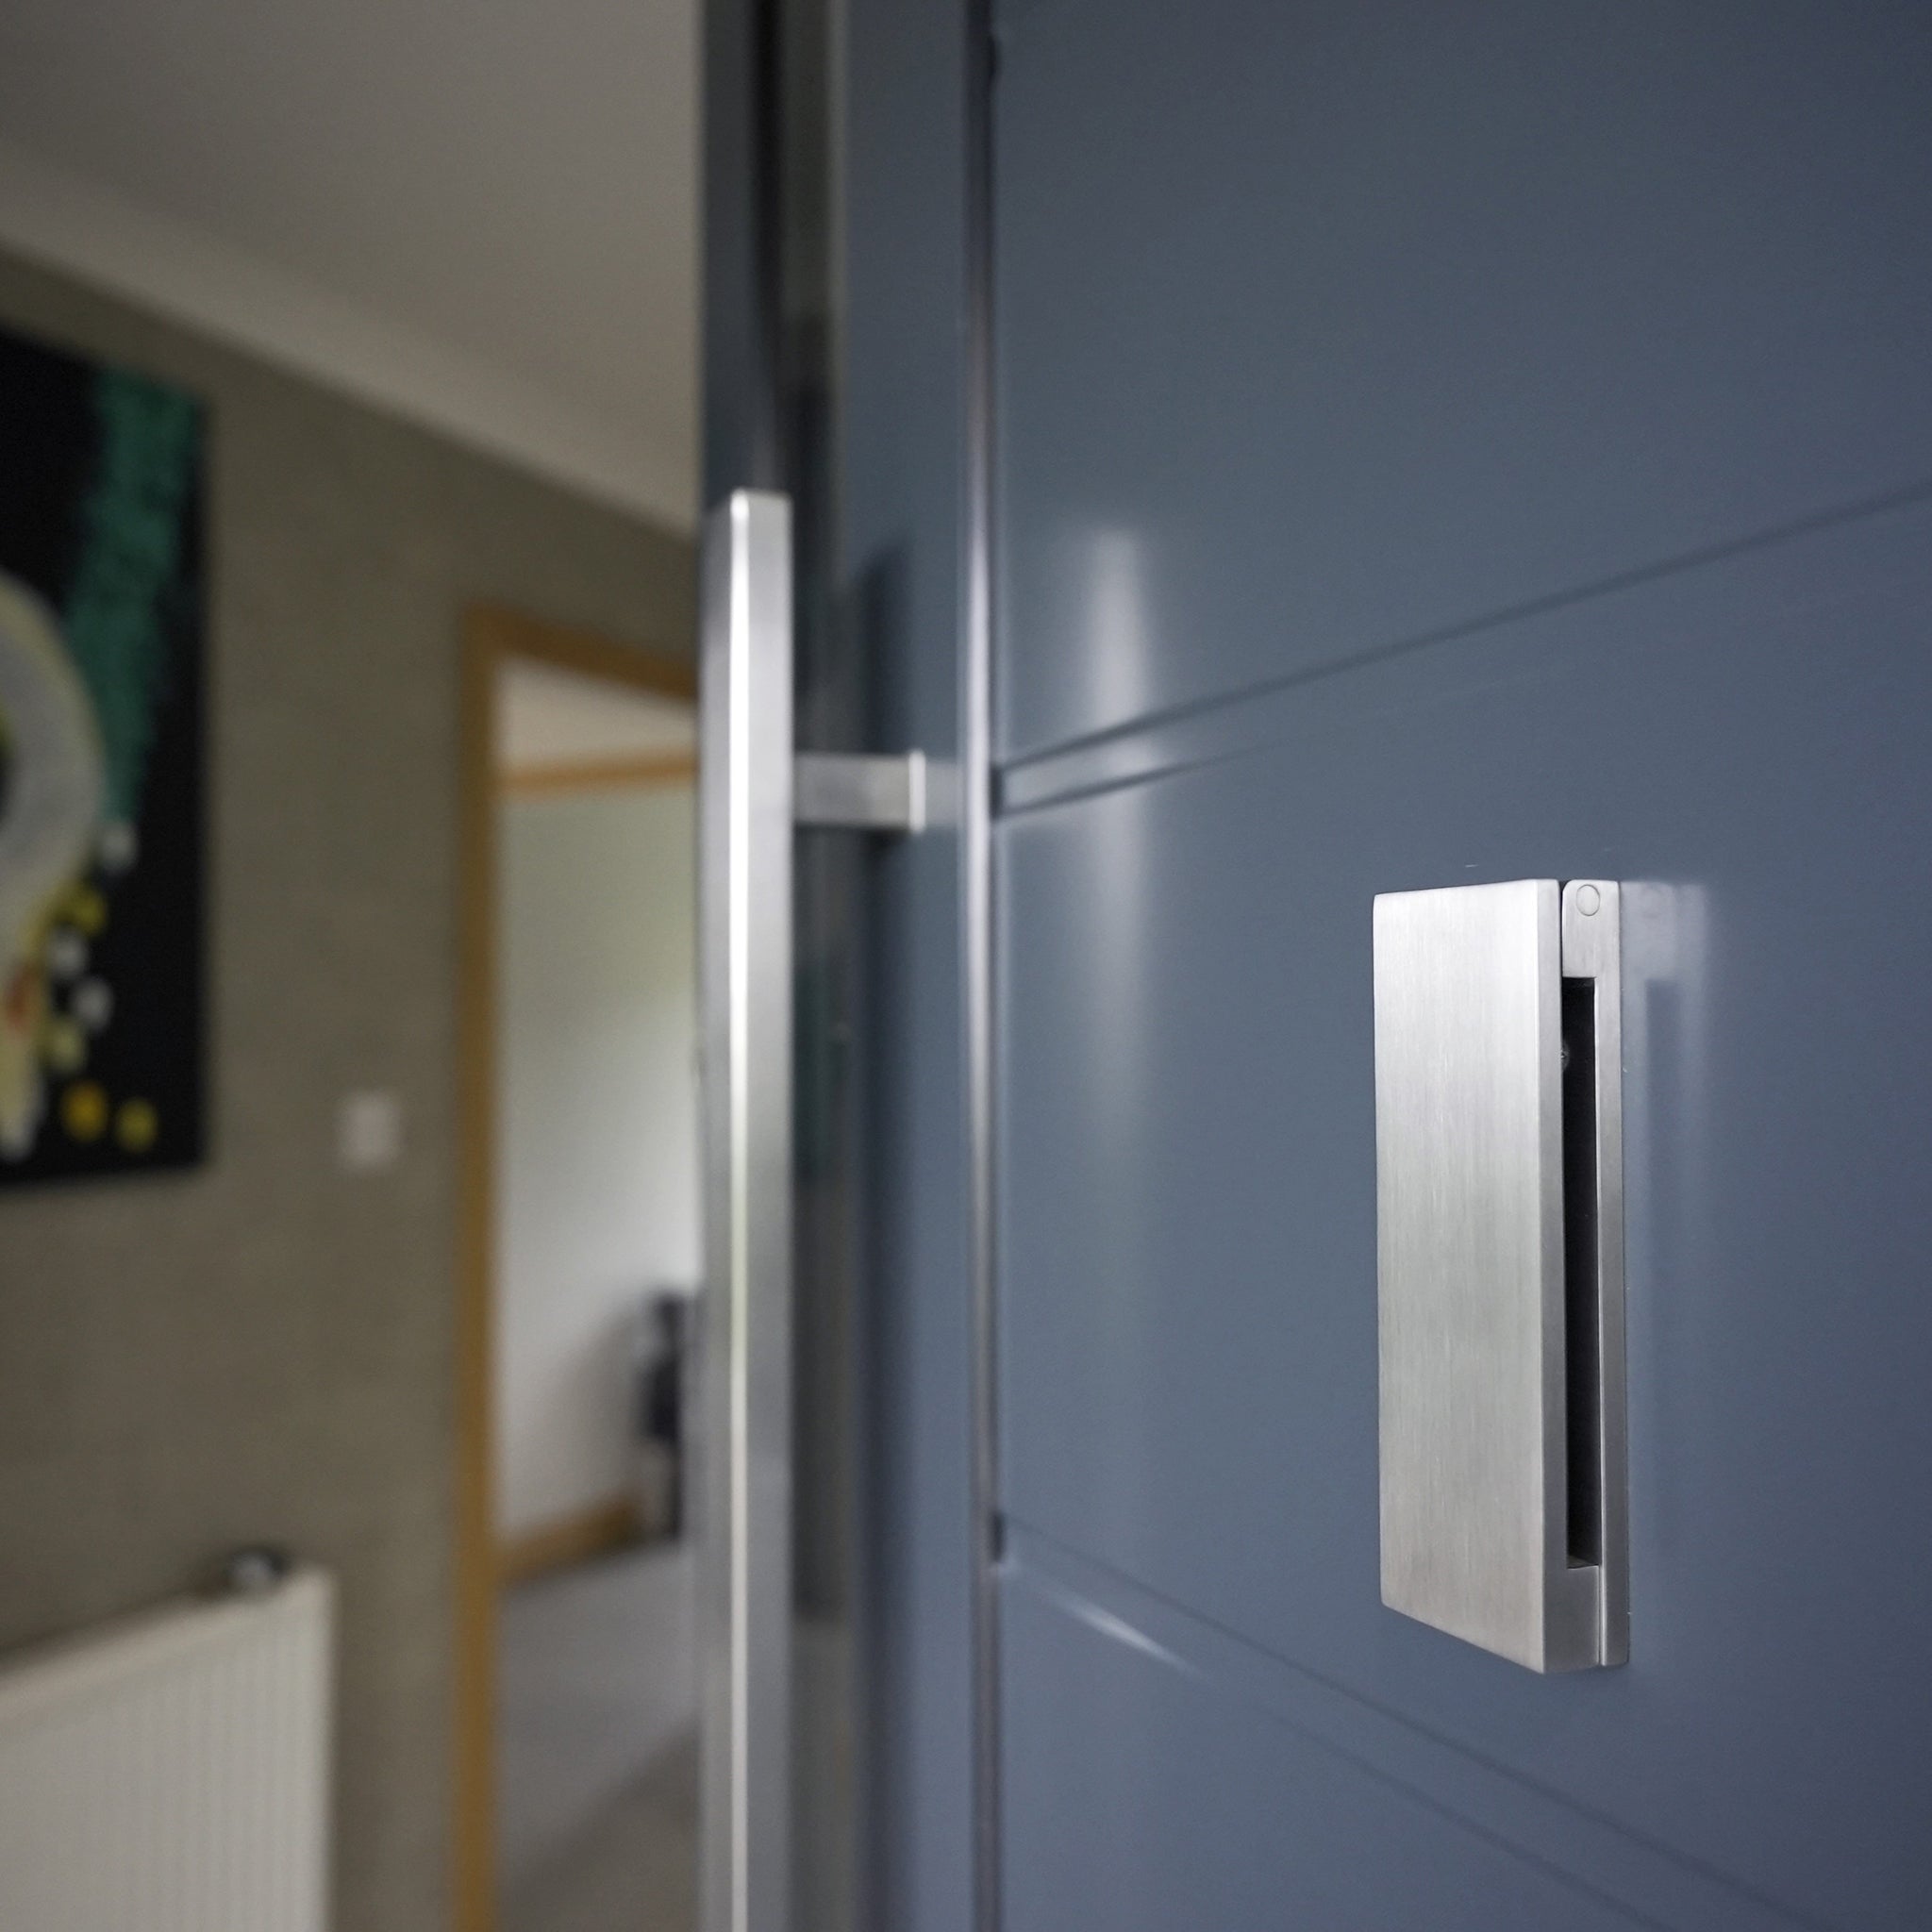
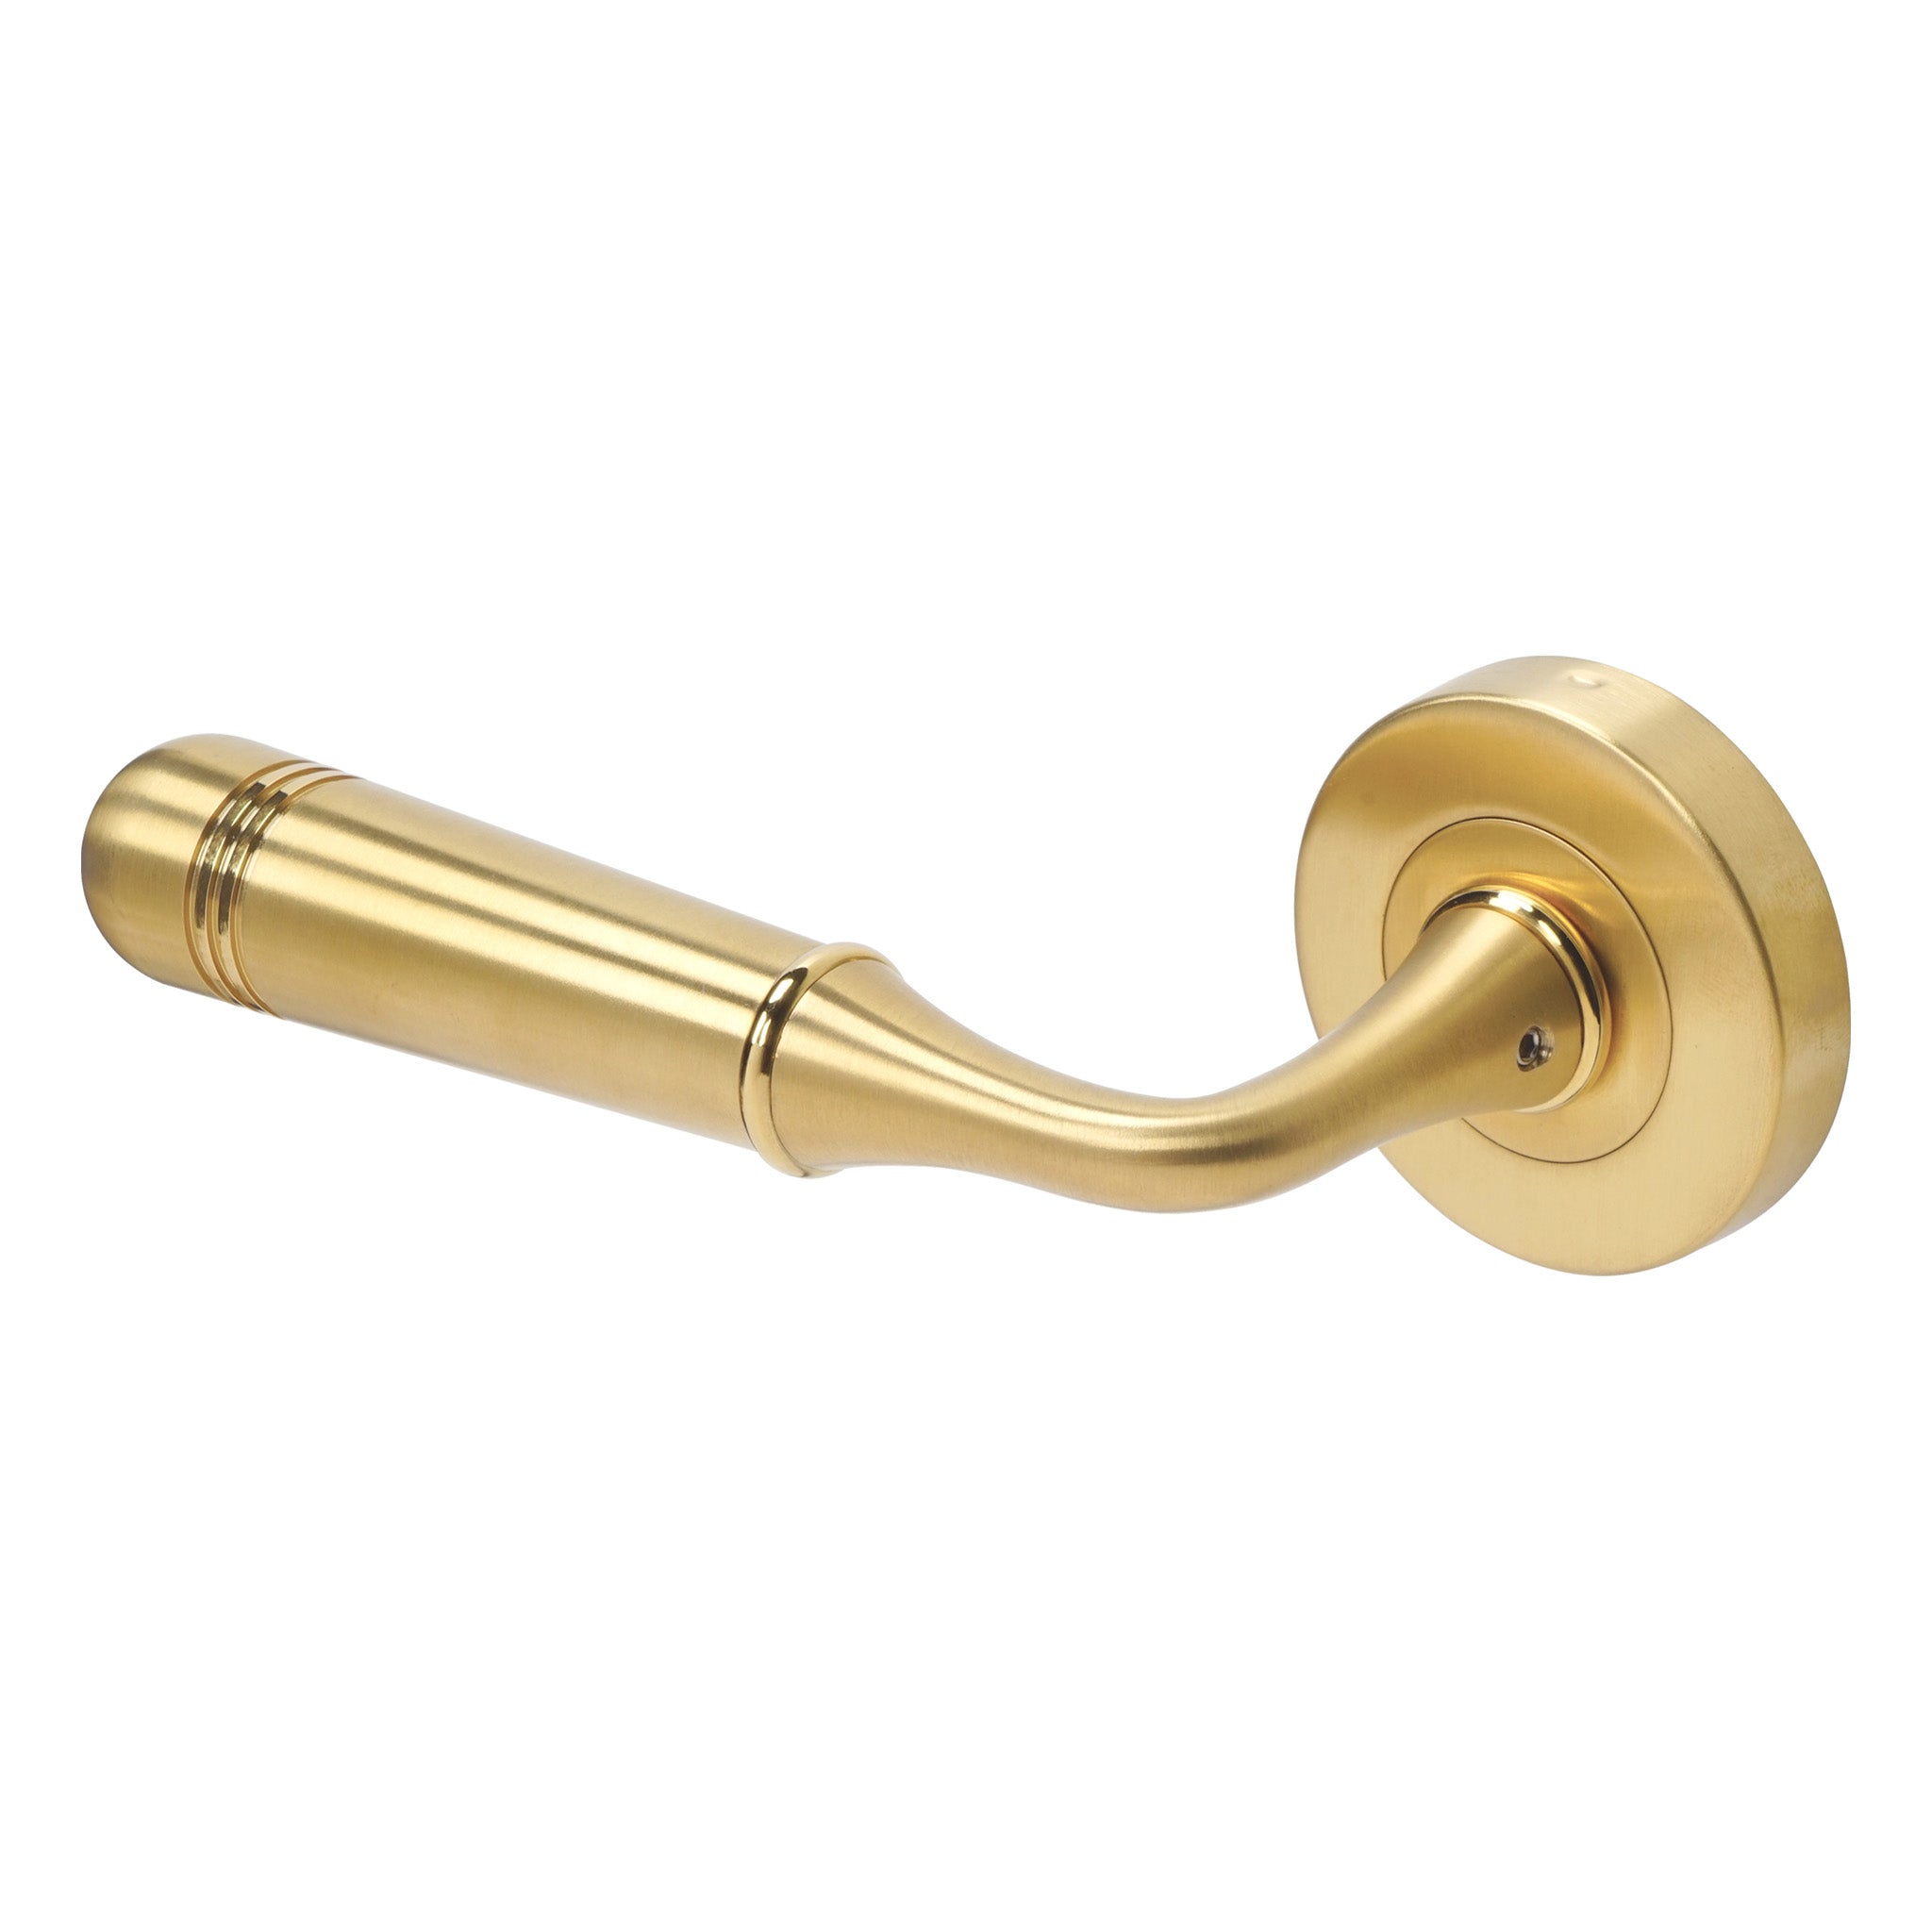
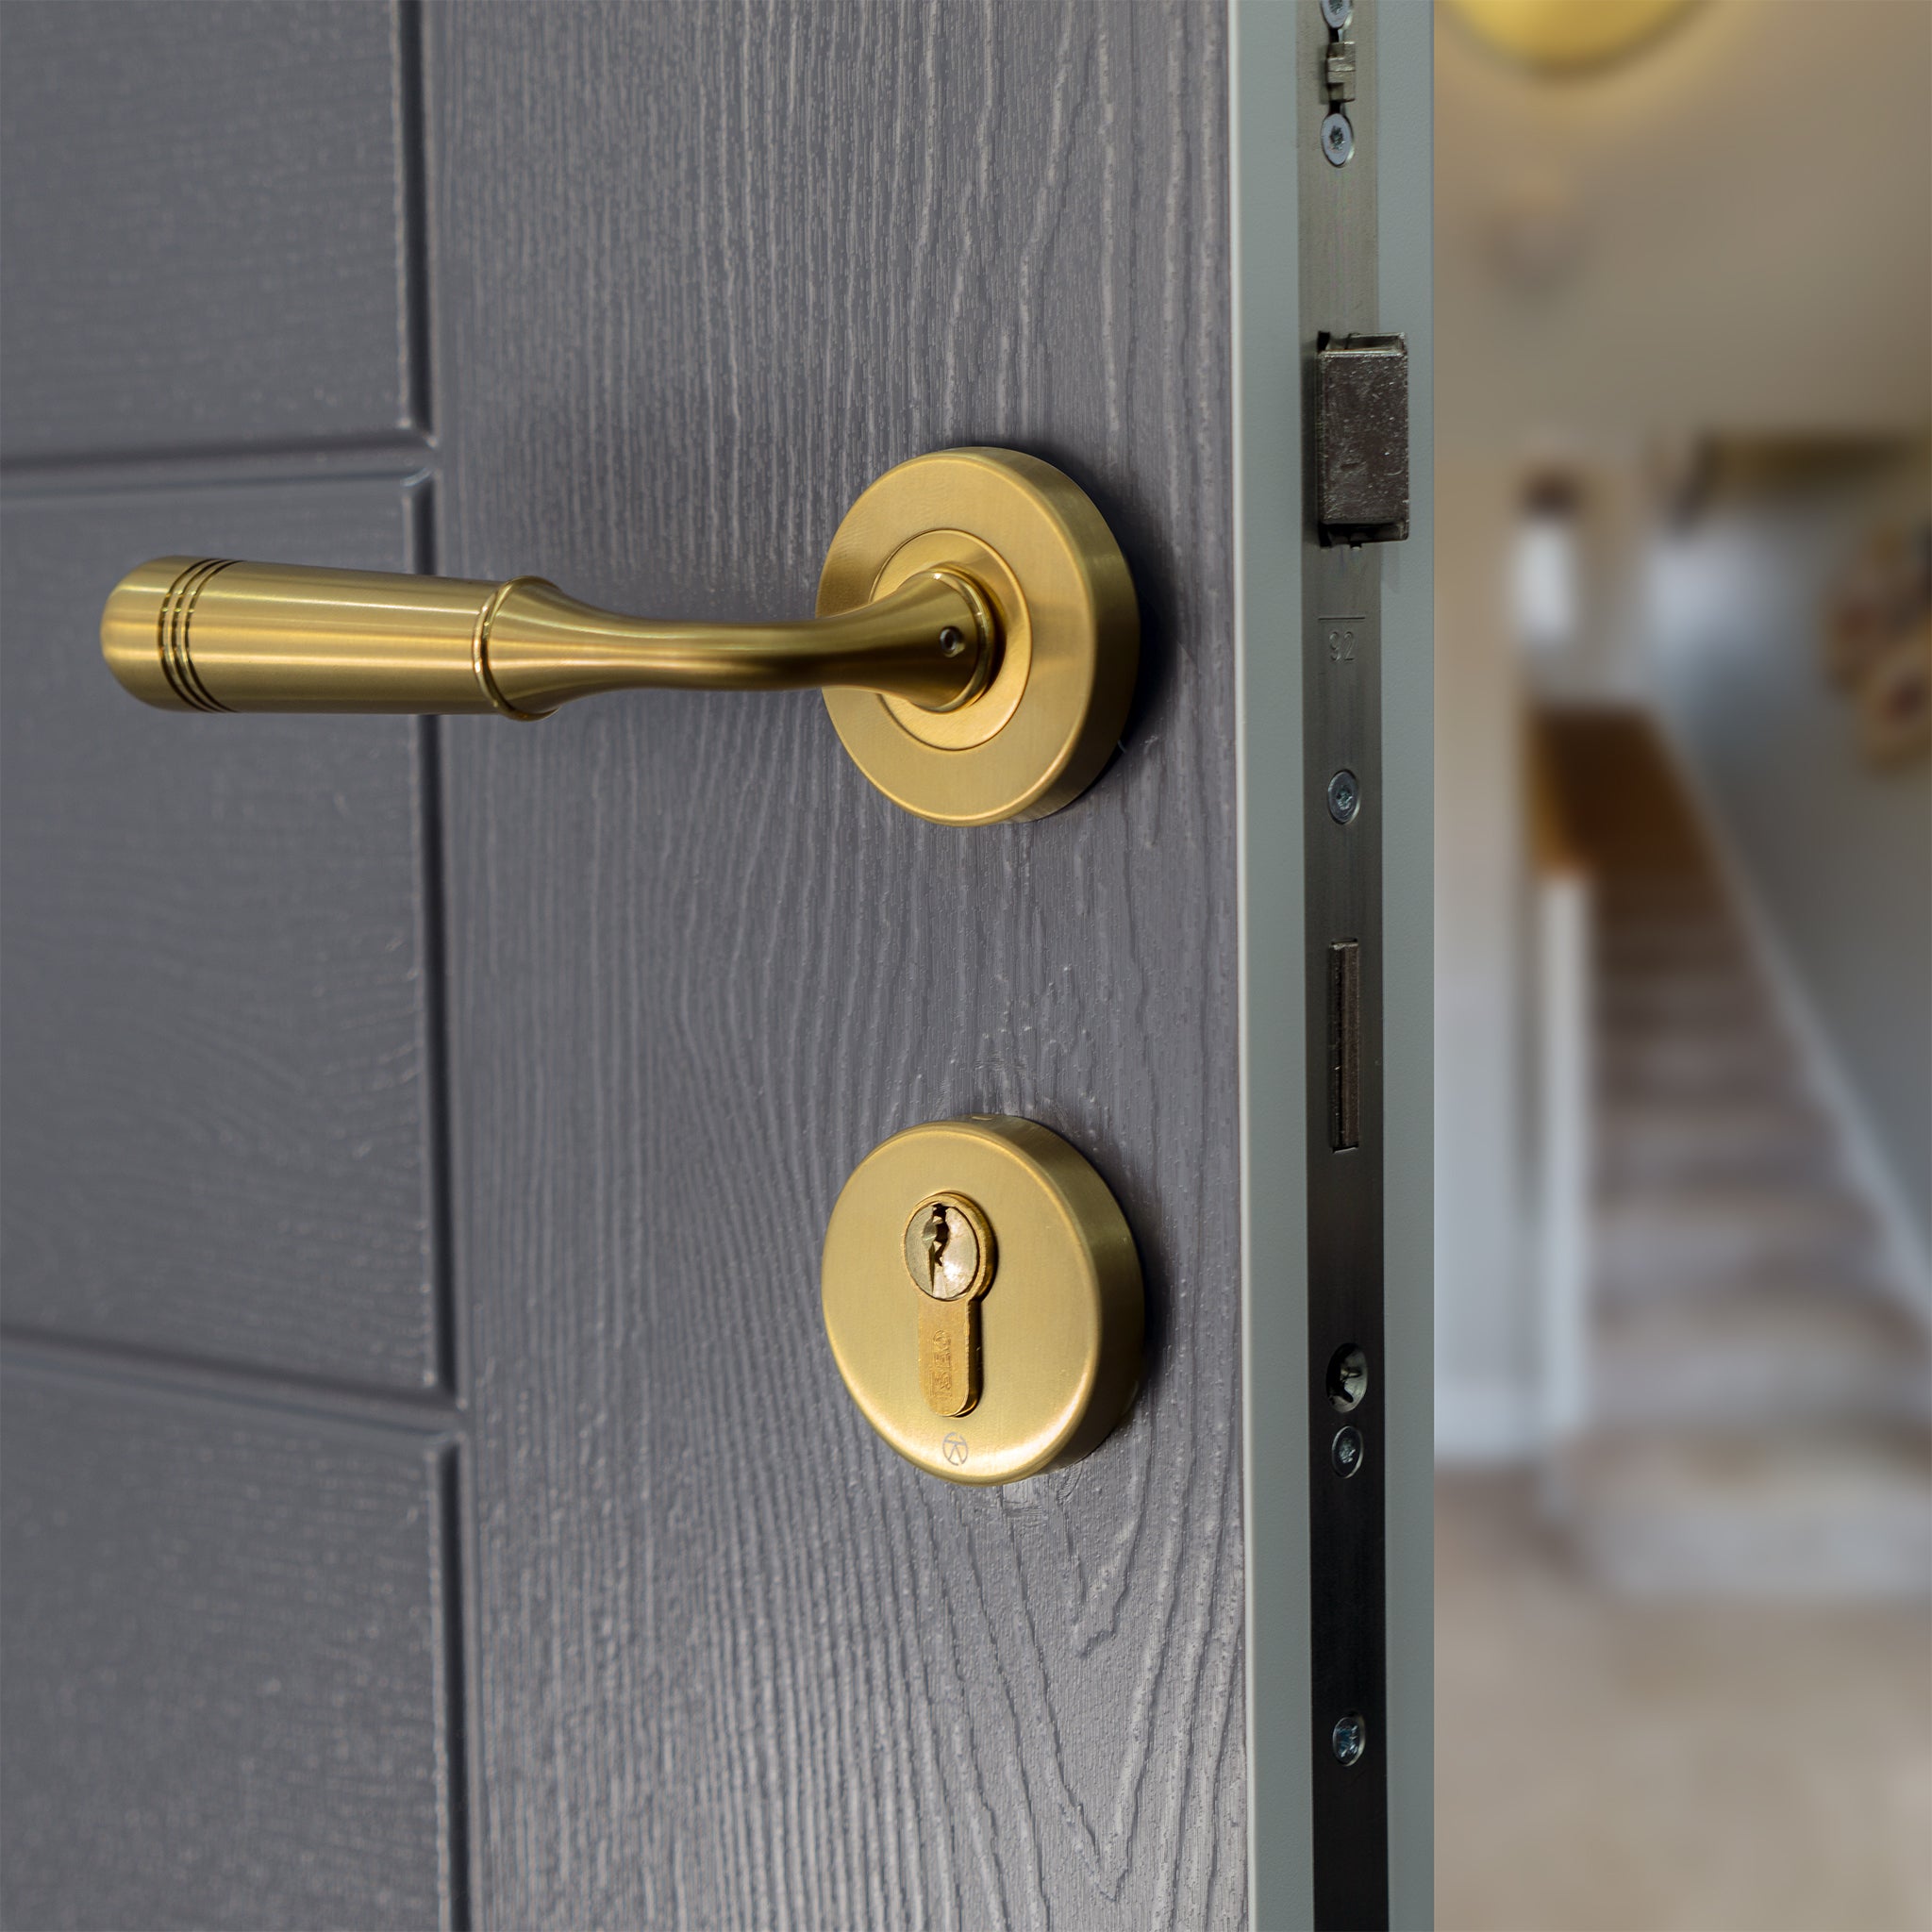
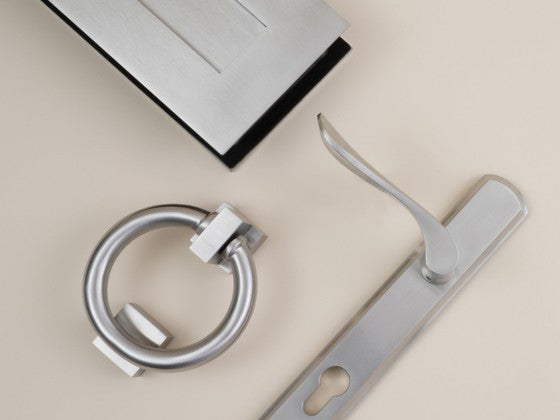
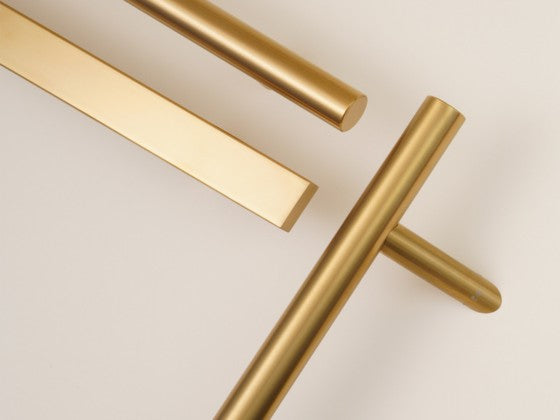
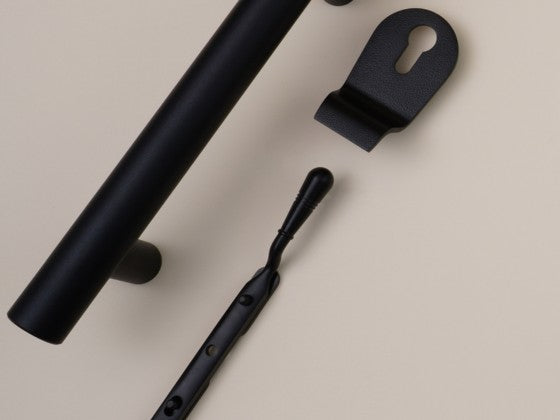
• For close-ups of hardware, shoot at eye level to showcase texture and finishes.
4. Keep the Focus on the Door and Hardware
• Clear away any distractions such as bins and garden tools, and check for unnecessary reflections in glass.
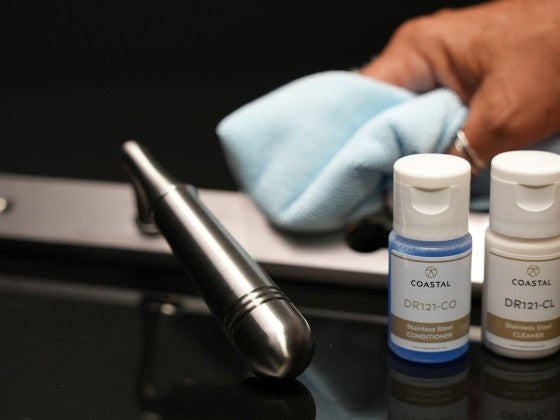
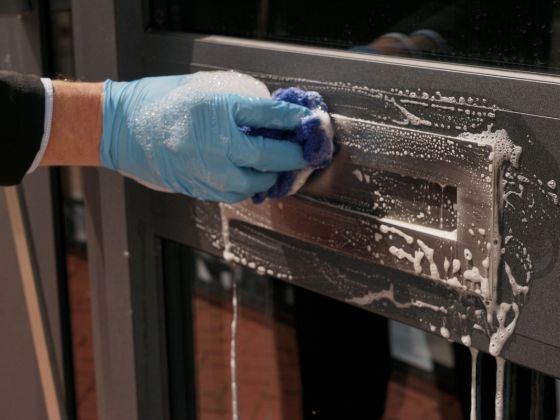
• Clean the door, window and hardware to remove any unsightly marks or dirt.
• Use a shallow depth of field (creating a blurred background) for close-up shots of handles, locks, and hinges.

5. Use Props to Add Depth & Warmth
• Enhance your door and window photos by incorporating elements like a stylish doormat, potted plants, or seasonal decorations to create a welcoming, lived-in look.

• Use surrounding greenery, pathways, or architectural details to add context and depth, making the door or window feel like part of a beautifully designed space.
• Ensure the area is clutter-free, but strategically place props like a bench, lanterns, or a wreath to subtly draw attention to the craftsmanship and hardware details.
6. Use a Tripod for Sharp, Steady Shots
• A tripod helps eliminate blur, especially in low light.
• If shooting handheld, keep your arms steady and brace against a wall if needed.
7. Pay Attention to Reflections
• Glass can reflect surroundings, including the photographer! Adjust your angle to reduce reflections.
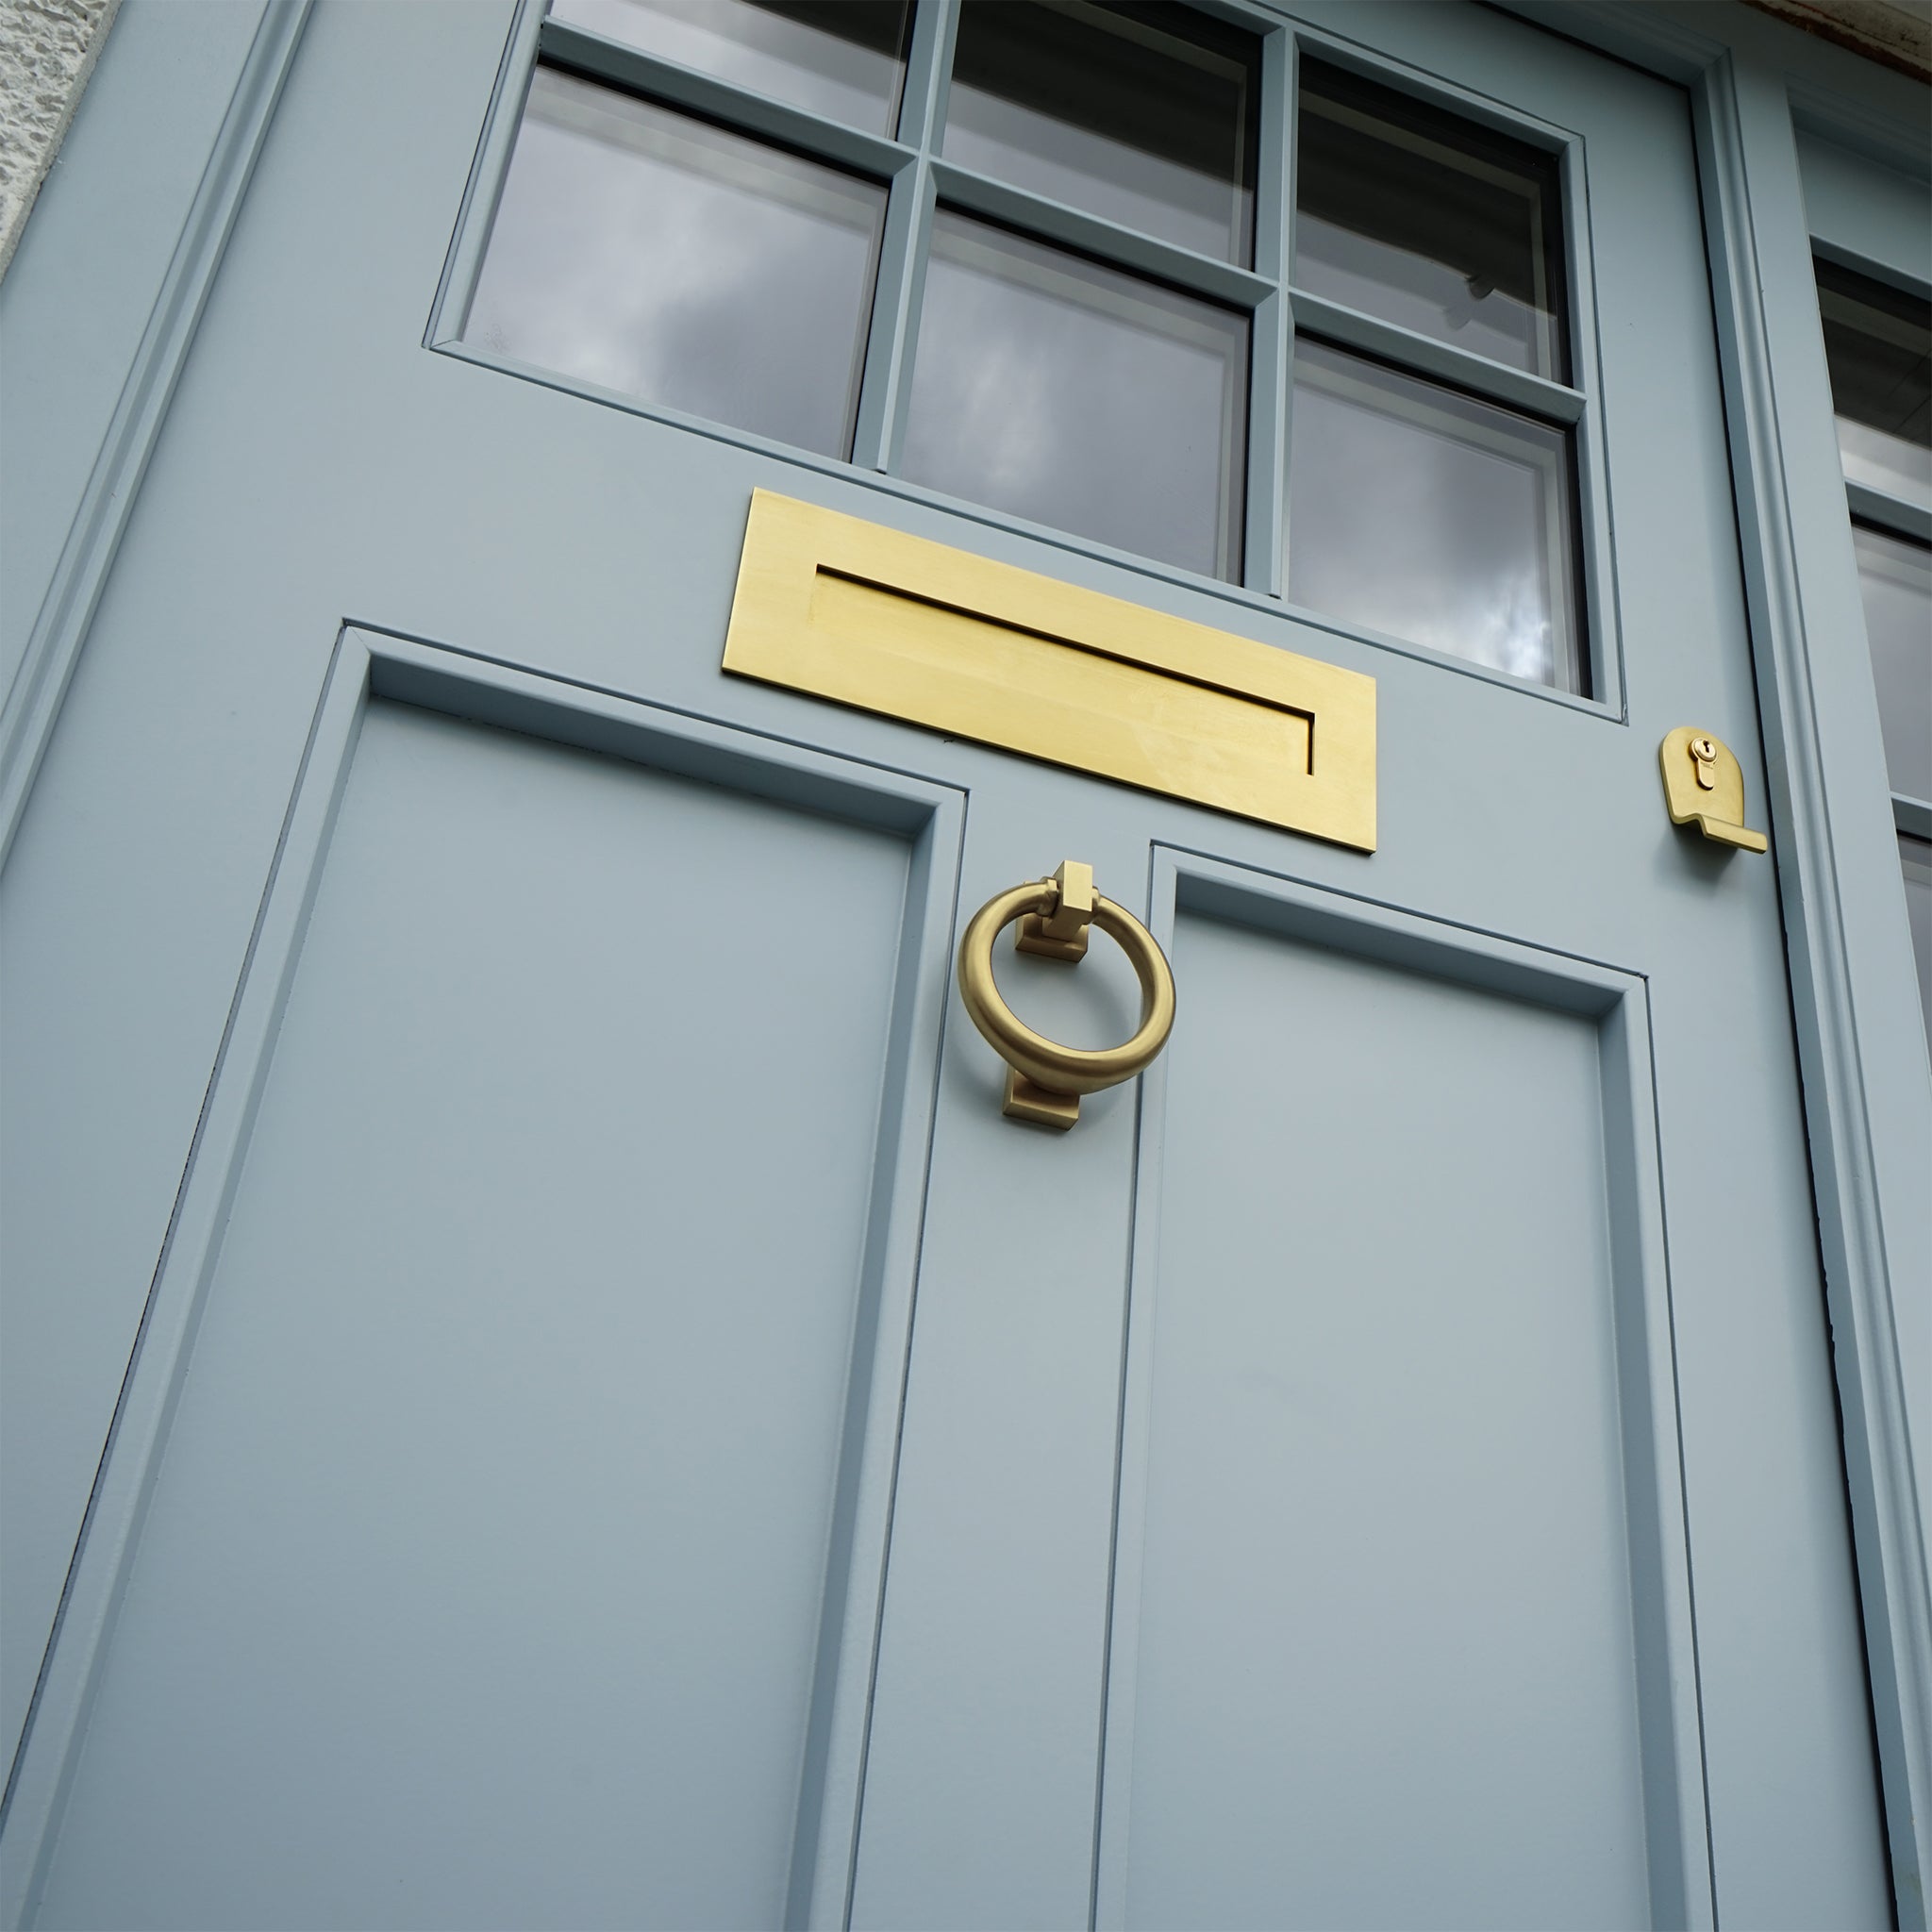
8. Capture Both Close-Ups & Full Views
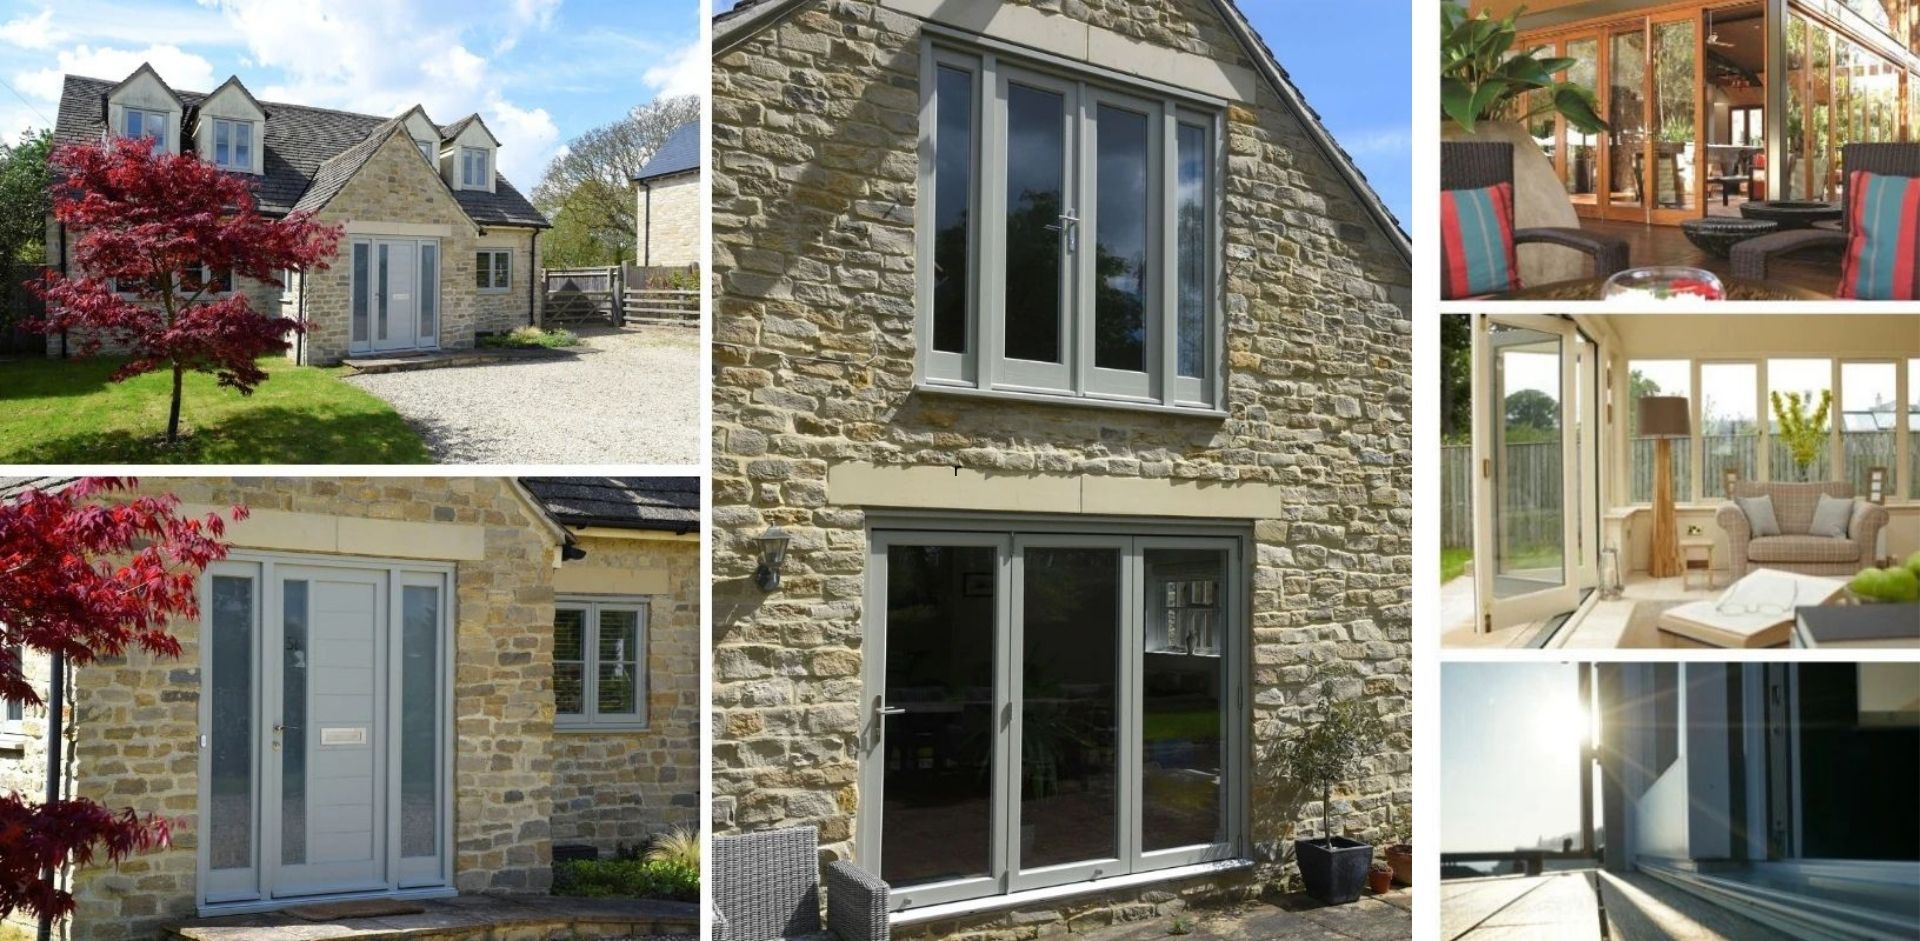
• Wide shots show how the door or window fits into the overall design of the property.

• Close-ups highlight the hardware details, finishes, and craftsmanship.

9. Edit for a Professional Finish
• Adjust brightness, contrast, and sharpness to enhance details.
• Crop the image if necessary to remove unnecessary elements.
• Keep colours true to life, avoiding excessive filters or unnatural effects.

10. Show Interaction for a Natural Look
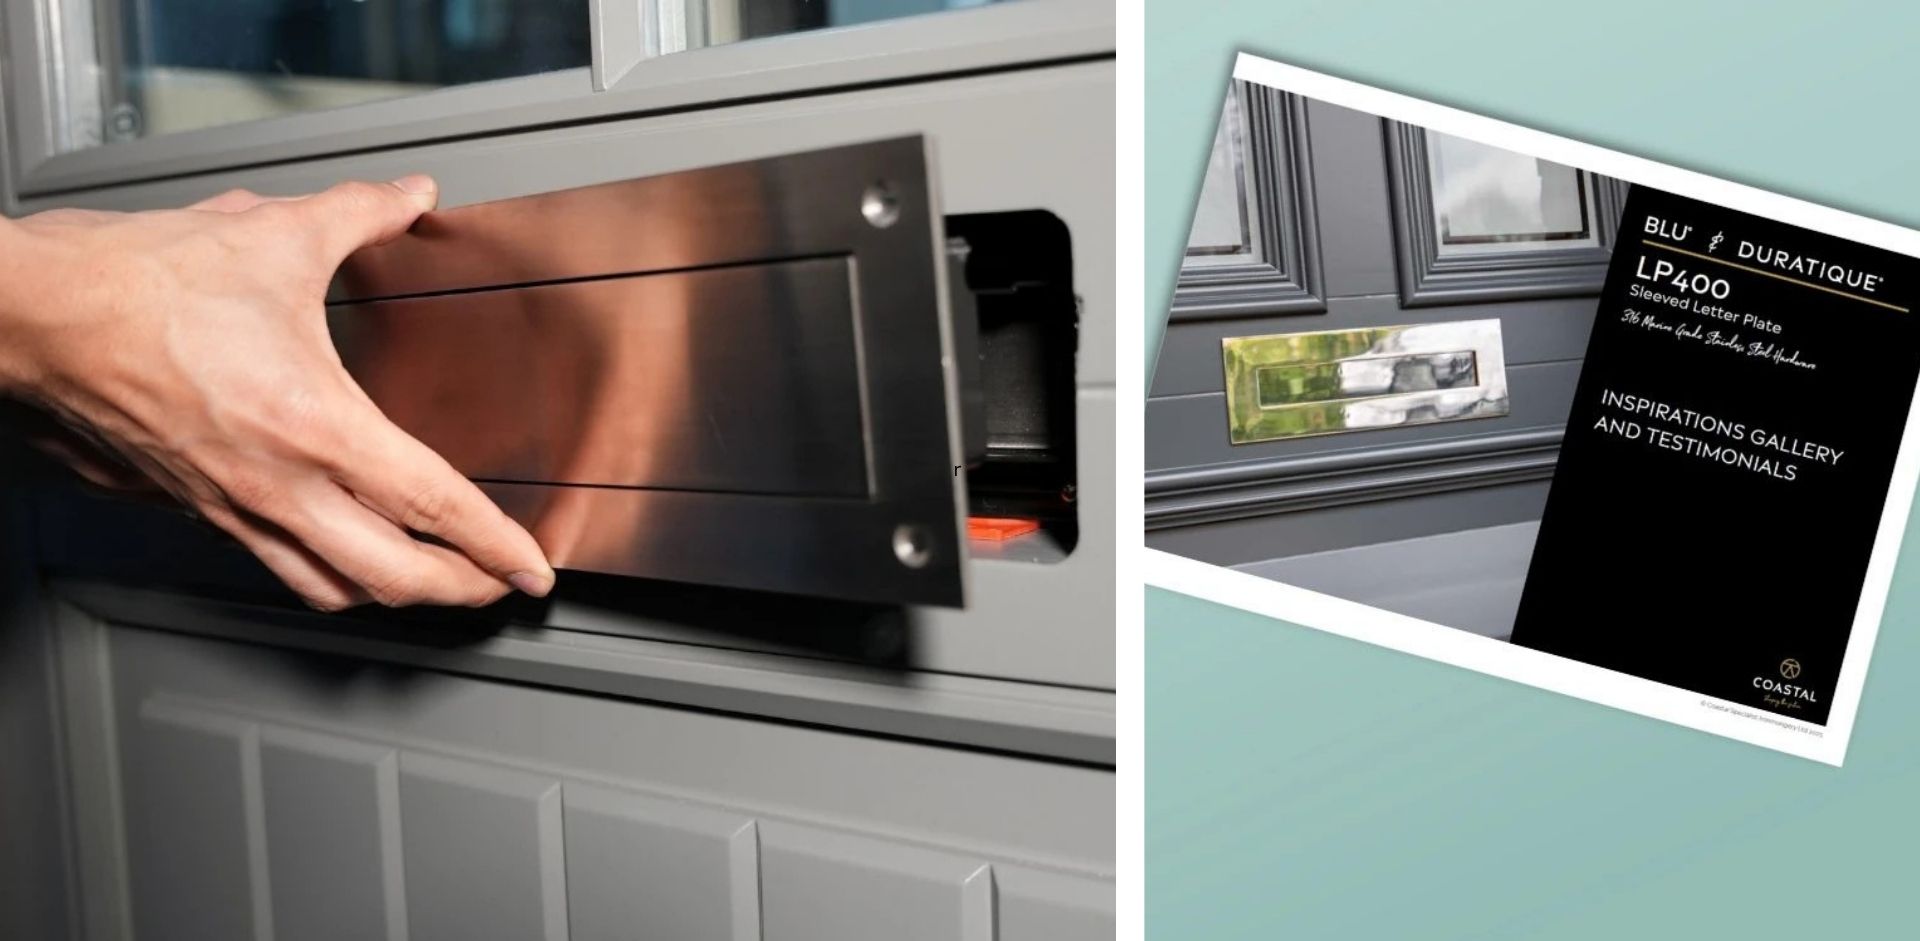
• A hand opening a door, turning a handle, or sliding a window makes an image more real and helps viewers imagine themselves using the product.

• Positioning someone stepping through a doorway or standing by a window gives a sense of proportion and creates a lifestyle feel, making the space more inviting and relatable.
Send us your best shots
We’d love to feature your work on our website and social media. If you've installed Coastal Group hardware in your projects, send us your photos or tag us on social media for a chance to be showcased.